- This event has passed.
Introduction to Curved Piecing – BBQ Schoolhouse
January 27, 2024 @ 9:00 am - 3:00 pm
$15.00
Introduction to Curved Piecing taught by Lynne MacDonald
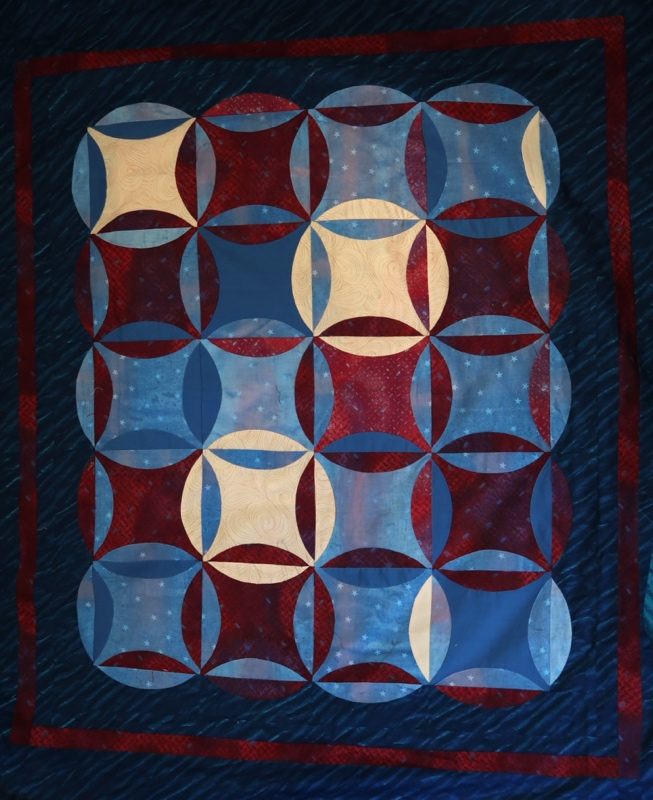
Sewing curved pieces has a bad reputation for being difficult and so not fun. WRONG! I’m going to pass along some processes learned from several teachers, and hope that you will become a ‘curve-a-holic’ like I now am. I find that these methods allow for stress-free creation of smooth and highly accurate curves.
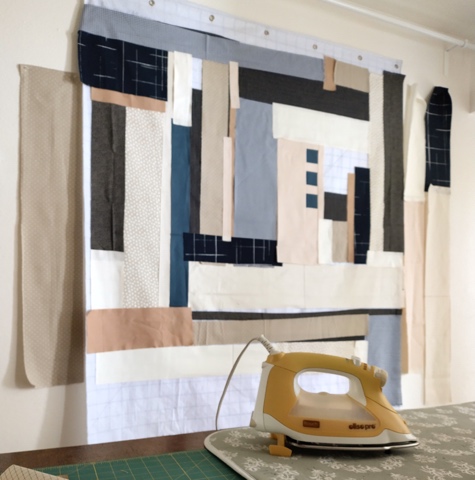
I’ll demonstrate three approaches that serve different purposes. One uses commercial templates. This approach is highly suited to traditional patterns like Robbing Peter to Save Paul (one of my very favorite designs). The second approach, learned from several classes I’ve taken from Jean Wells, is highly suited to improv quilting and making modern landscapes, and it requires no templating!! The last approach, learned in classes from Patricia Belyea, will allow you to create your own designs and easily assemble even complex curved patterns thru the use of freezer paper templates and a nifty marking method.
The goal of the class is to show you several different techniques to try, and have the opportunity to practice each. Don’t expect to end the day with a finished item. I’m NOT an expert…if I can do this (and I CAN), you can do this
Supply list:
fabric (sizable scraps and fat quarters, colors/patterns with contrast to show off curved lines. Aim for sufficient to make three finished blocks, if you are a speed demon.)
freezer paper (Reynolds, available at any grocery, but I’ll bring my roll for you to pull from)
curved templates if you already own some (I’ll bring templates you can borrow, so no need to shop if you own none as of yet)
Sharpie (fat tip black)
prismacolor pencils in colors to easily show on your dark and light fabrics (ONLY Prismacolor—if you have none, you can use mine. Other pencil brands cause a problem, I’ve forgotten what it is, but think it’s related to ironing)
fabric marking tools (chalk or other preferred fine tip disappearing marker) for marking around/in templates
sewing machine
thread (it’s good to reduce seam bulk in curves, so recommend load bobbins with a light weight & top spool with light or medium weight)
cutting mat
rotary cutters, either or both of a small and/or medium diameter, with sharp blade (I know…lists always say this, yet we still often hope the old blade is good enough). If you have one, nice to also have your cutter you use for paper.
cutting ruler(s) (include one, like a 6×12, that is short and narrow enough to easily move around, and has a clearly visible 1/4″ line along one edge)
pins (recommend thin pins, like silk pins, as you typically can sew across them rather than have to keep stopping to pull them ahead of your needle)
paper scissors and fabric scissors
seam ripper, and if it will not also double as a stiletto, bring a stiletto
ironing mat and iron to use near your machine, if you want to save time running to a class board (you do a lot of seam pressing)


